Crying Cake Recipe: The Ultimate Guide To Making Your Dessert Tears Of Joy
Ever heard of the "crying cake"? It's not just a dessert, it's an experience. Imagine cutting into a beautifully golden sponge cake, only to be greeted by a cascade of gooey, syrupy tears streaming down its sides. Sounds magical, right? Well, buckle up, because we're diving deep into the world of recette du gâteau qui pleure – or as we say in English, the crying cake recipe.
This isn't your average cake. It's a showstopper, a conversation starter, and a dessert that will leave your guests utterly amazed. Whether you're hosting a birthday party, a family gathering, or just want to impress your friends, this cake is guaranteed to steal the spotlight. So why not learn how to make it?
Don't worry, we've got you covered. In this article, we'll walk you through everything you need to know about making a crying cake. From the basic ingredients to advanced techniques, we've got all the tips and tricks to ensure your cake turns out perfectly every time. Ready to get started? Let's dive in!
What Exactly is a Crying Cake?
Before we get into the nitty-gritty details, let's talk about what makes this cake so special. The crying cake, or gâteau qui pleure, is essentially a sponge cake filled with a warm, gooey syrup that "cries" down the sides when you cut into it. It's a bit like a lava cake, but instead of molten chocolate, you get a sweet, sticky syrup that adds an extra layer of flavor and drama.
Now, you might be wondering why anyone would want their cake to "cry." Well, it's all about the visual impact. When done right, the syrup streams down the sides in a mesmerizing cascade, creating a spectacle that's both beautiful and delicious. Plus, it's surprisingly easy to make once you get the hang of it.
Key Ingredients for Your Crying Cake
Every great recipe starts with the right ingredients, and the crying cake is no exception. Here's a quick rundown of what you'll need:
- Flour – The base of your sponge cake
- Sugar – For sweetness, obviously
- Eggs – To bind everything together
- Butter – Adds richness and flavor
- Milk – For moisture
- Baking powder – To make your cake rise
- Syrup – The star of the show! You can use honey, maple syrup, or even caramel, depending on your taste
Of course, you can always experiment with different flavors and ingredients to make the cake your own. But for now, let's stick to the basics and get this show on the road.
Step-by-Step Guide to Making a Crying Cake
Preparing Your Ingredients
Alright, let's get down to business. The first step in making a crying cake is preparing your ingredients. Measure everything out beforehand – trust me, it'll save you a lot of hassle later on. Preheat your oven to 350°F (175°C) and grease your cake pan. You don't want your masterpiece sticking to the pan, do you?
Mixing the Sponge
Now comes the fun part – mixing the sponge. In a large bowl, cream together the butter and sugar until it's light and fluffy. Add the eggs one at a time, mixing well after each addition. Then, fold in the flour and baking powder, alternating with the milk. Be gentle – you don't want to deflate all those air bubbles you just created.
Adding the Syrup
This is where the magic happens. Pour your sponge mixture into the prepared cake pan, leaving a well in the center. Then, pour your chosen syrup into the well. Don't worry if it looks like it's going to overflow – it won't. Trust the process.
Baking the Cake
Pop your cake into the oven and bake for about 30-35 minutes, or until a toothpick inserted into the center comes out clean. Resist the temptation to open the oven door too often – we don't want any temperature fluctuations messing with our masterpiece.
Cutting the Cake
Once your cake is done, let it cool for a few minutes before slicing into it. And here's the best part – as you cut into the cake, the syrup will start to "cry" down the sides, creating that stunning visual effect we all love. Serve it warm with a scoop of vanilla ice cream for an extra indulgent treat.
Tips and Tricks for Perfect Results
Now that you know the basics, here are a few tips to help you achieve perfection:
- Don't overmix the batter – it can make your cake dense
- Use room temperature ingredients for better results
- Experiment with different syrups to find your favorite flavor
- Let the cake rest for a few minutes before slicing – it'll help the syrup flow more smoothly
Remember, practice makes perfect. Don't be discouraged if your first attempt doesn't turn out exactly as you hoped. Keep experimenting and tweaking your technique until you get it just right.
Common Mistakes to Avoid
Even the best bakers make mistakes sometimes. Here are a few common pitfalls to watch out for:
- Overbaking the cake – it can dry out and lose its moisture
- Using too much syrup – it can make the cake soggy
- Not letting the cake cool enough before slicing – the syrup might not flow properly
By avoiding these mistakes, you'll increase your chances of success and end up with a crying cake that's as delicious as it is beautiful.
Variations on the Crying Cake
Once you've mastered the basic recipe, why not try experimenting with different variations? Here are a few ideas to get you started:
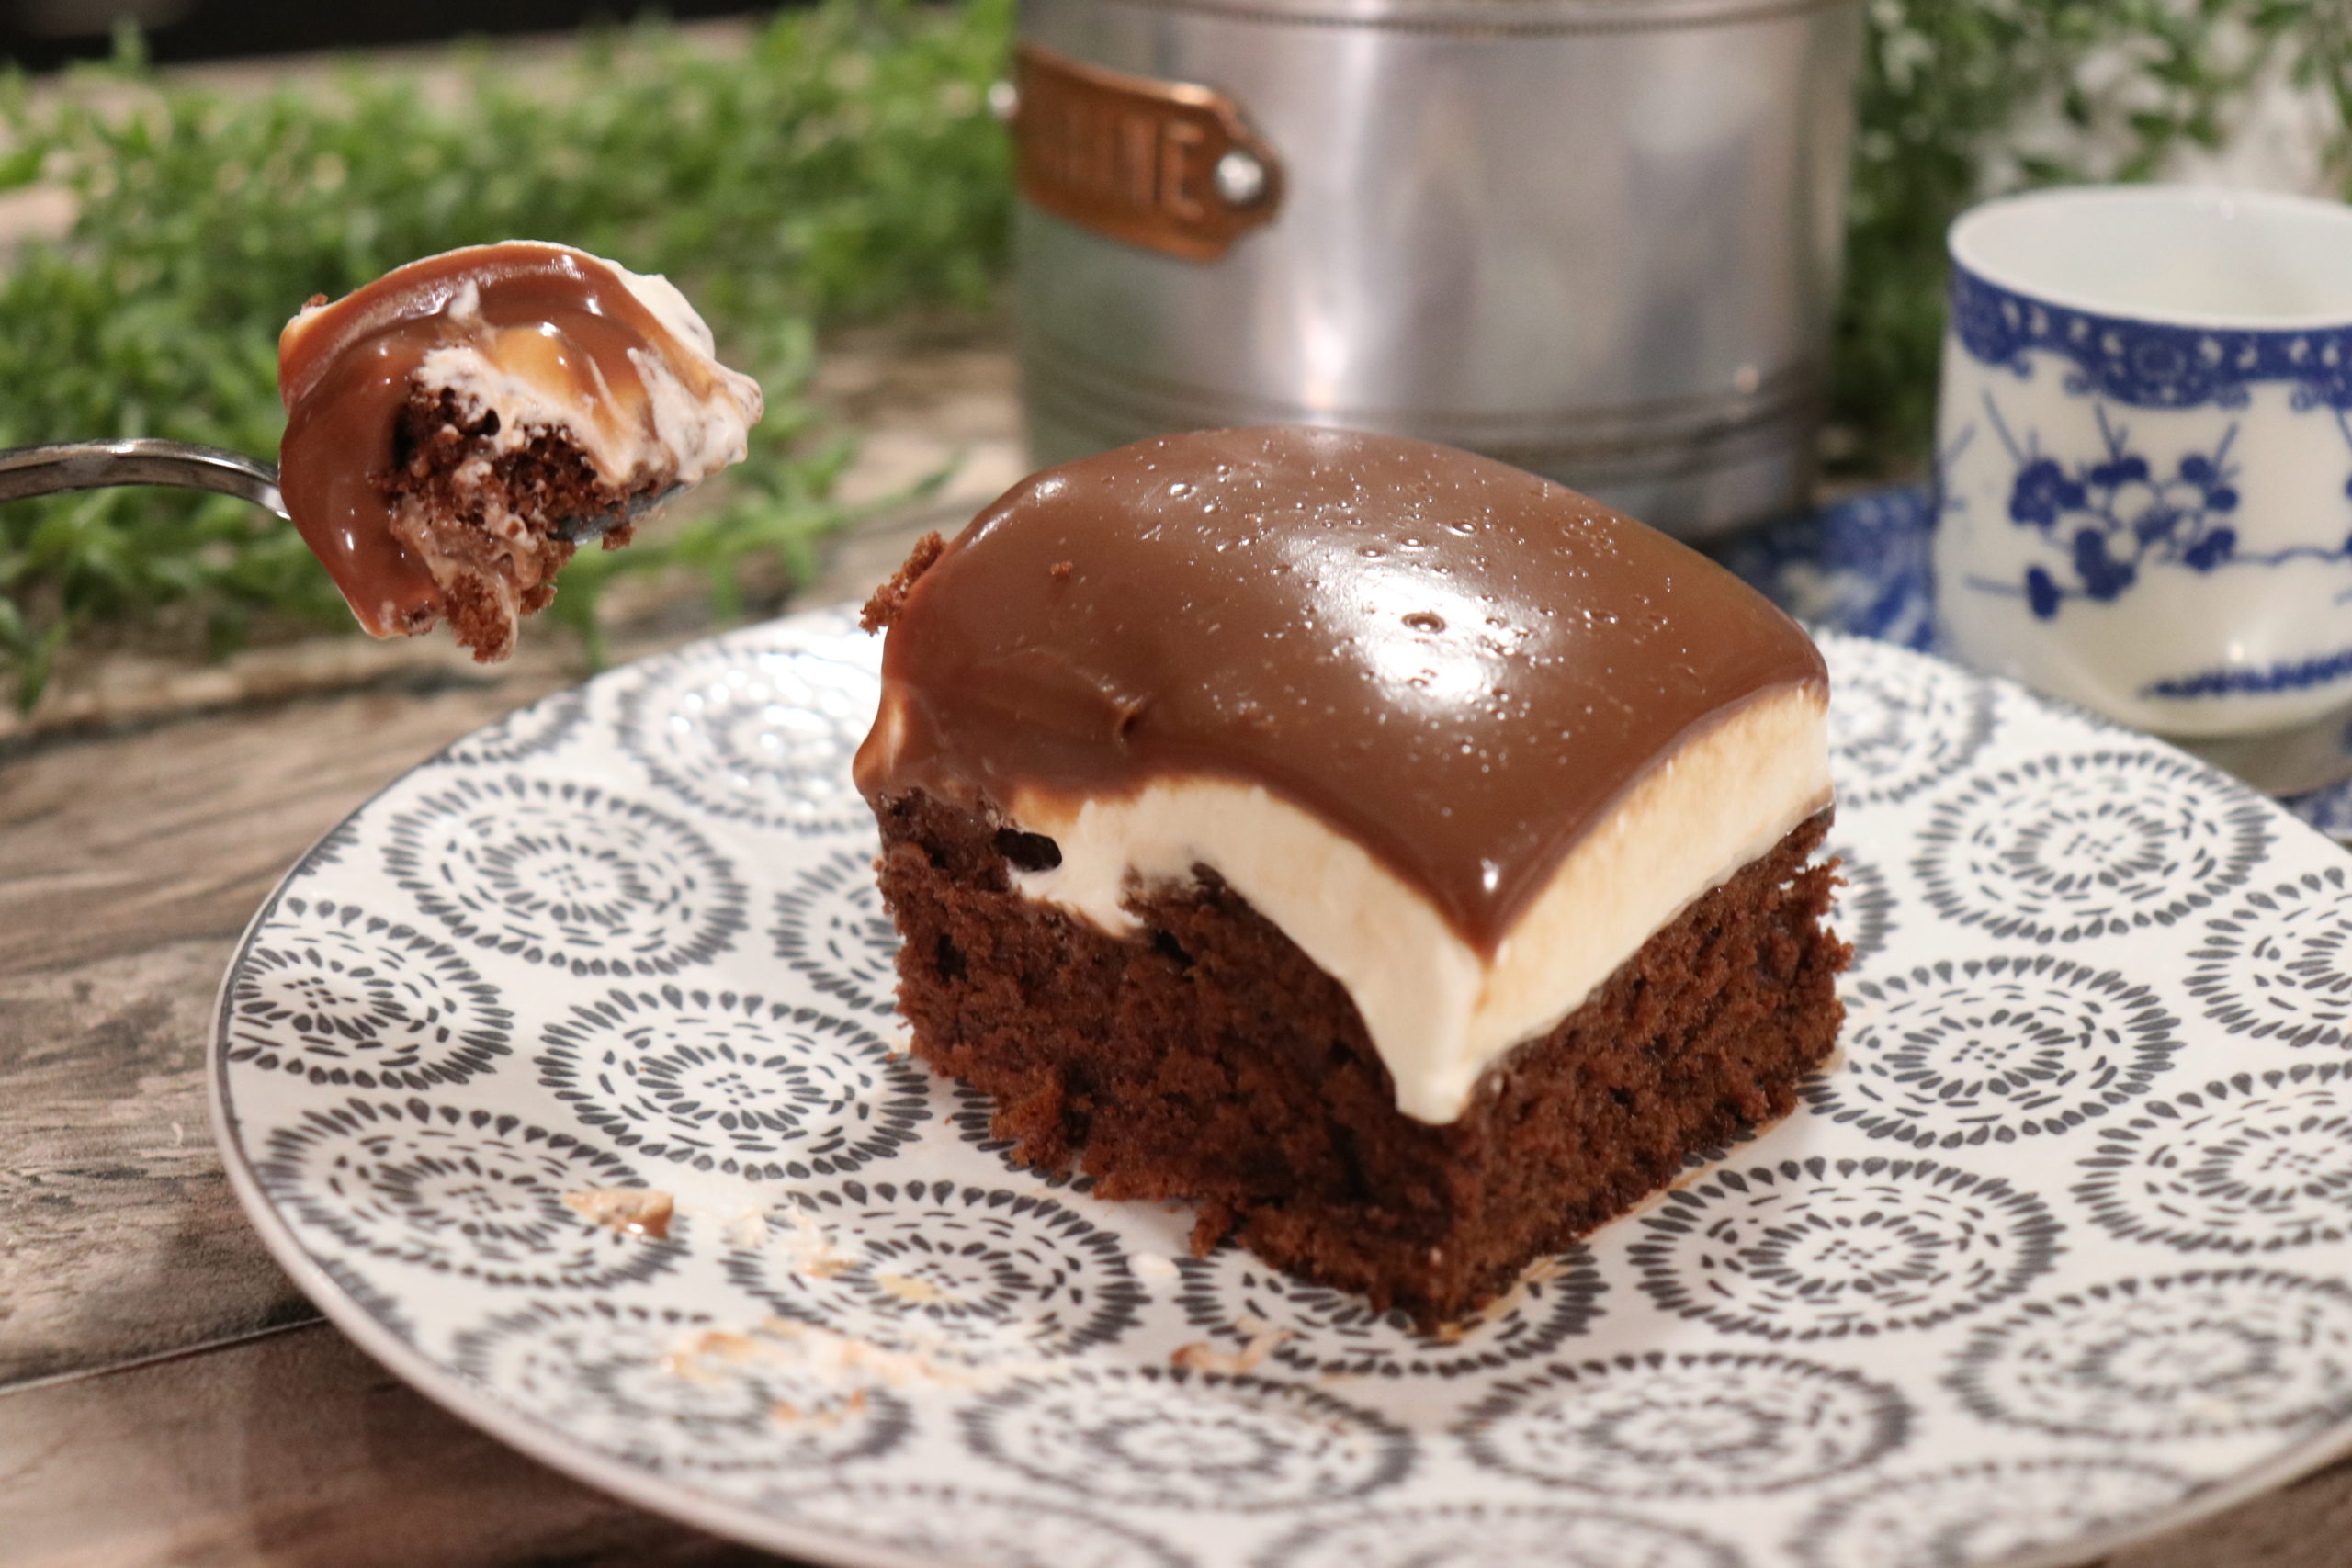
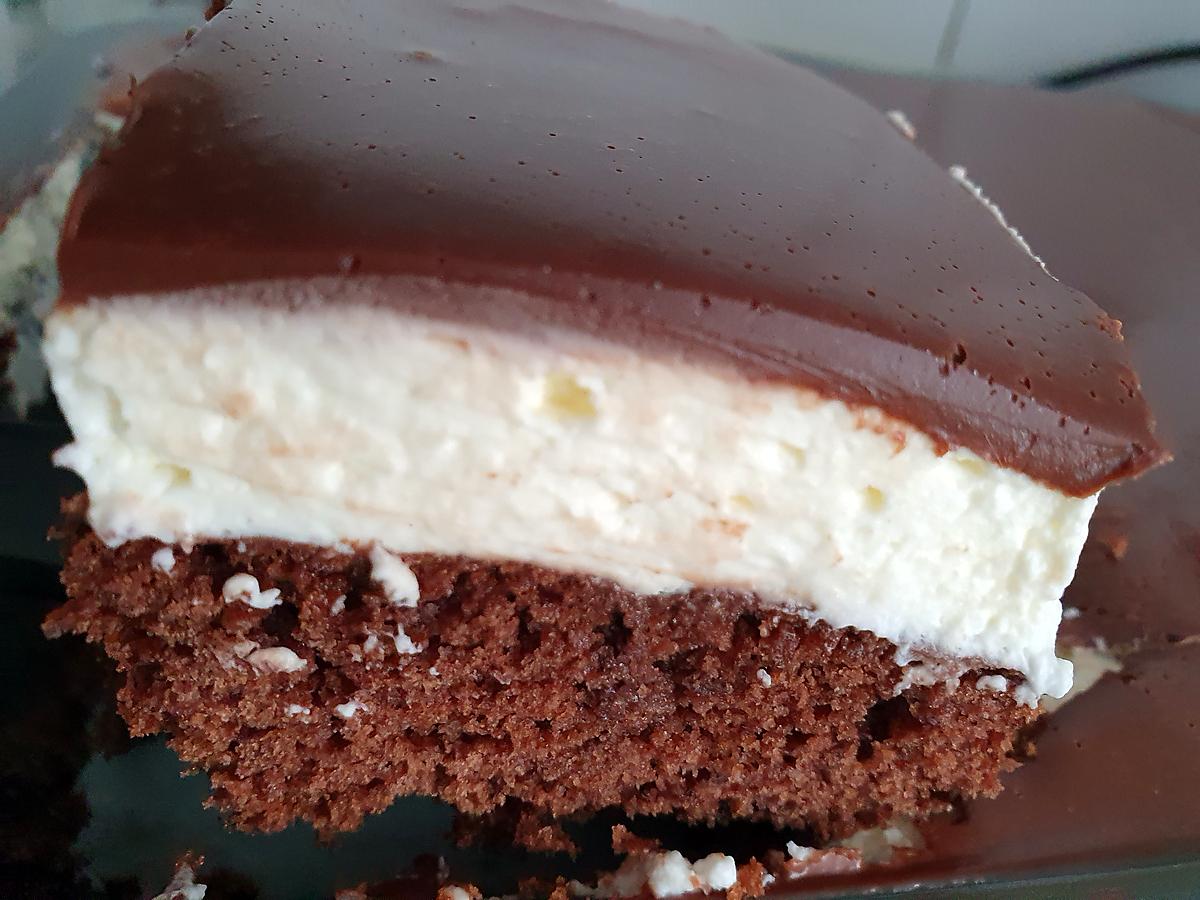
Chocolate Crying Cake
Add cocoa powder to your sponge mixture for a rich, chocolatey twist. Pair it with a dark chocolate syrup for an extra decadent treat.
Fruit-Filled Crying Cake
Stir some fresh fruit into your syrup for a burst of flavor. Strawberries, blueberries, or even mango work beautifully.
Spiced Crying Cake
For a seasonal twist, add spices like cinnamon, nutmeg, or ginger to your sponge mixture. Serve it with a dollop of whipped cream for a cozy, comforting dessert.
Healthier Alternatives
Not everyone wants to indulge in a sugar-laden dessert. If you're looking for a healthier alternative, here are a few ideas:
- Use whole wheat flour instead of all-purpose flour
- Substitute honey or maple syrup for refined sugar
- Add some grated zucchini or carrots for extra moisture and nutrients
These tweaks won't compromise the flavor or texture of your cake, but they'll make it a little easier on the waistline.
Where to Find Inspiration
If you're feeling stuck or need some inspiration, there are plenty of resources out there to help you. Check out popular baking blogs, YouTube channels, and social media platforms for ideas and tips. And don't forget to join online baking communities – they're full of passionate bakers who are always happy to share their knowledge and expertise.
Conclusion
And there you have it – everything you need to know about making a crying cake. From the basic recipe to advanced techniques, we've covered it all. Remember, the key to success is practice, patience, and a willingness to experiment. So what are you waiting for? Grab your apron and get baking!
Don't forget to leave a comment below and let us know how your crying cake turned out. And if you loved this recipe, be sure to share it with your friends and family. Happy baking!
Table of Contents
- What Exactly is a Crying Cake?
- Key Ingredients for Your Crying Cake
- Step-by-Step Guide to Making a Crying Cake
- Tips and Tricks for Perfect Results
- Common Mistakes to Avoid
- Variations on the Crying Cake
- Healthier Alternatives
- Where to Find Inspiration
- Conclusion
Detail Author:
- Name : Anne Marquardt
- Username : deonte.jacobi
- Email : ngusikowski@gmail.com
- Birthdate : 1987-10-30
- Address : 146 Hackett Lodge Jerodville, CA 24624-0763
- Phone : 689-613-0108
- Company : Lueilwitz, Bradtke and Boehm
- Job : Operations Research Analyst
- Bio : Ab eos sit non consequatur. Atque blanditiis officiis explicabo minus. Dolor debitis dolor alias ex ut.
Socials
linkedin:
- url : https://linkedin.com/in/toy1991
- username : toy1991
- bio : Aut omnis eius magnam est.
- followers : 539
- following : 2381
facebook:
- url : https://facebook.com/lonny.toy
- username : lonny.toy
- bio : Rerum et dolores itaque placeat aut cumque adipisci.
- followers : 933
- following : 100
