How To Safely And Effectively Remove A Splinter (Enlever Echarde): A Comprehensive Guide
Hey there, buddy! Let’s talk about something that’s probably happened to all of us at some point—getting a pesky splinter stuck under our skin. Whether it’s from working in the garden, handling wood, or even just walking barefoot on a rugged surface, splinters can be a real pain (literally). But don’t worry, we’ve got you covered. In this guide, we’ll walk you through how to safely and effectively remove a splinter—or as the French say, "enlever echarde." So, grab a seat, and let’s dive into it!
You might think removing a splinter is no big deal, but trust me, if you don’t do it right, it can lead to infections or even more discomfort. We’re going to cover everything from identifying the type of splinter you’ve got to the tools you’ll need and step-by-step instructions for removal. Plus, we’ll share some pro tips to help you avoid those sneaky splinters in the future.
Now, before we get into the nitty-gritty, let’s talk about why this is important. Splinters, no matter how small they seem, can cause big problems if left untreated. They can lead to inflammation, infections, and even more serious complications. So, let’s make sure you’re equipped with the knowledge and tools to handle them like a pro.
Understanding Splinters: What Are They and Why Do They Hurt So Much?
First things first, what exactly is a splinter? Simply put, it’s a small piece of a foreign object—usually wood, glass, metal, or even plastic—that gets embedded in your skin. It’s like an uninvited guest that just won’t leave, and it can cause irritation, pain, and even infection if not removed properly.
Splinters can vary in size and depth. Some are so tiny you might not even notice them right away, while others can be deep and painful. The key is to identify the type of splinter you’re dealing with and take appropriate action.
Types of Splinters
- Wood Splinters: The most common type, often caused by handling wood or walking barefoot on wooden surfaces.
- Glass Splinters: These can be super tiny but dangerous if not removed carefully.
- Metal Splinters: Usually from working with metal tools or machinery.
- Plastic Splinters: Less common but still a possibility, especially if you’re handling plastic objects.
Knowing the type of splinter you’re dealing with can help you choose the right method for removal. And remember, patience is key here. Rushing the process can make things worse.
Why Removing a Splinter Is Important
Leaving a splinter in your skin might seem like no big deal, but it can lead to some serious issues. Splinters can cause infections, inflammation, and even abscesses if not removed properly. Plus, they can be super uncomfortable and painful, especially if they’re in a sensitive area.
Here’s the thing: your skin is your body’s first line of defense against infections. When a splinter breaks through that barrier, it creates an opening for bacteria to enter. That’s why it’s crucial to remove it as soon as possible and keep the area clean and disinfected.
Gather Your Tools: What You’ll Need to Remove a Splinter
Before you start trying to remove a splinter, make sure you have the right tools. You don’t want to be fumbling around looking for stuff while the splinter is causing you pain. Here’s what you’ll need:
- Tweezers: Preferably fine-tipped ones for better precision.
- A needle: Sterilized, of course, for prying out deeper splinters.
- Alcohol: To sterilize your tools and clean the affected area.
- Band-Aids or gauze: To cover the wound after removal.
- Antiseptic cream: To prevent infection.
Having these items on hand will make the process smoother and safer. And remember, cleanliness is key. You don’t want to introduce more bacteria into the wound while you’re trying to fix it.
Step-by-Step Guide: How to Remove a Splinter
Alright, let’s get down to business. Here’s a step-by-step guide on how to safely and effectively remove a splinter:
Step 1: Wash Your Hands
This might seem obvious, but it’s crucial. Wash your hands thoroughly with soap and water before touching the affected area. You don’t want to transfer any bacteria to the wound.
Step 2: Sterilize Your Tools
Use alcohol to sterilize your tweezers and needle. This will help prevent infection during the removal process.
Step 3: Examine the Splinter
Take a good look at the splinter. Is it sticking out of the skin? Is it embedded deeply? This will determine the method you use for removal.
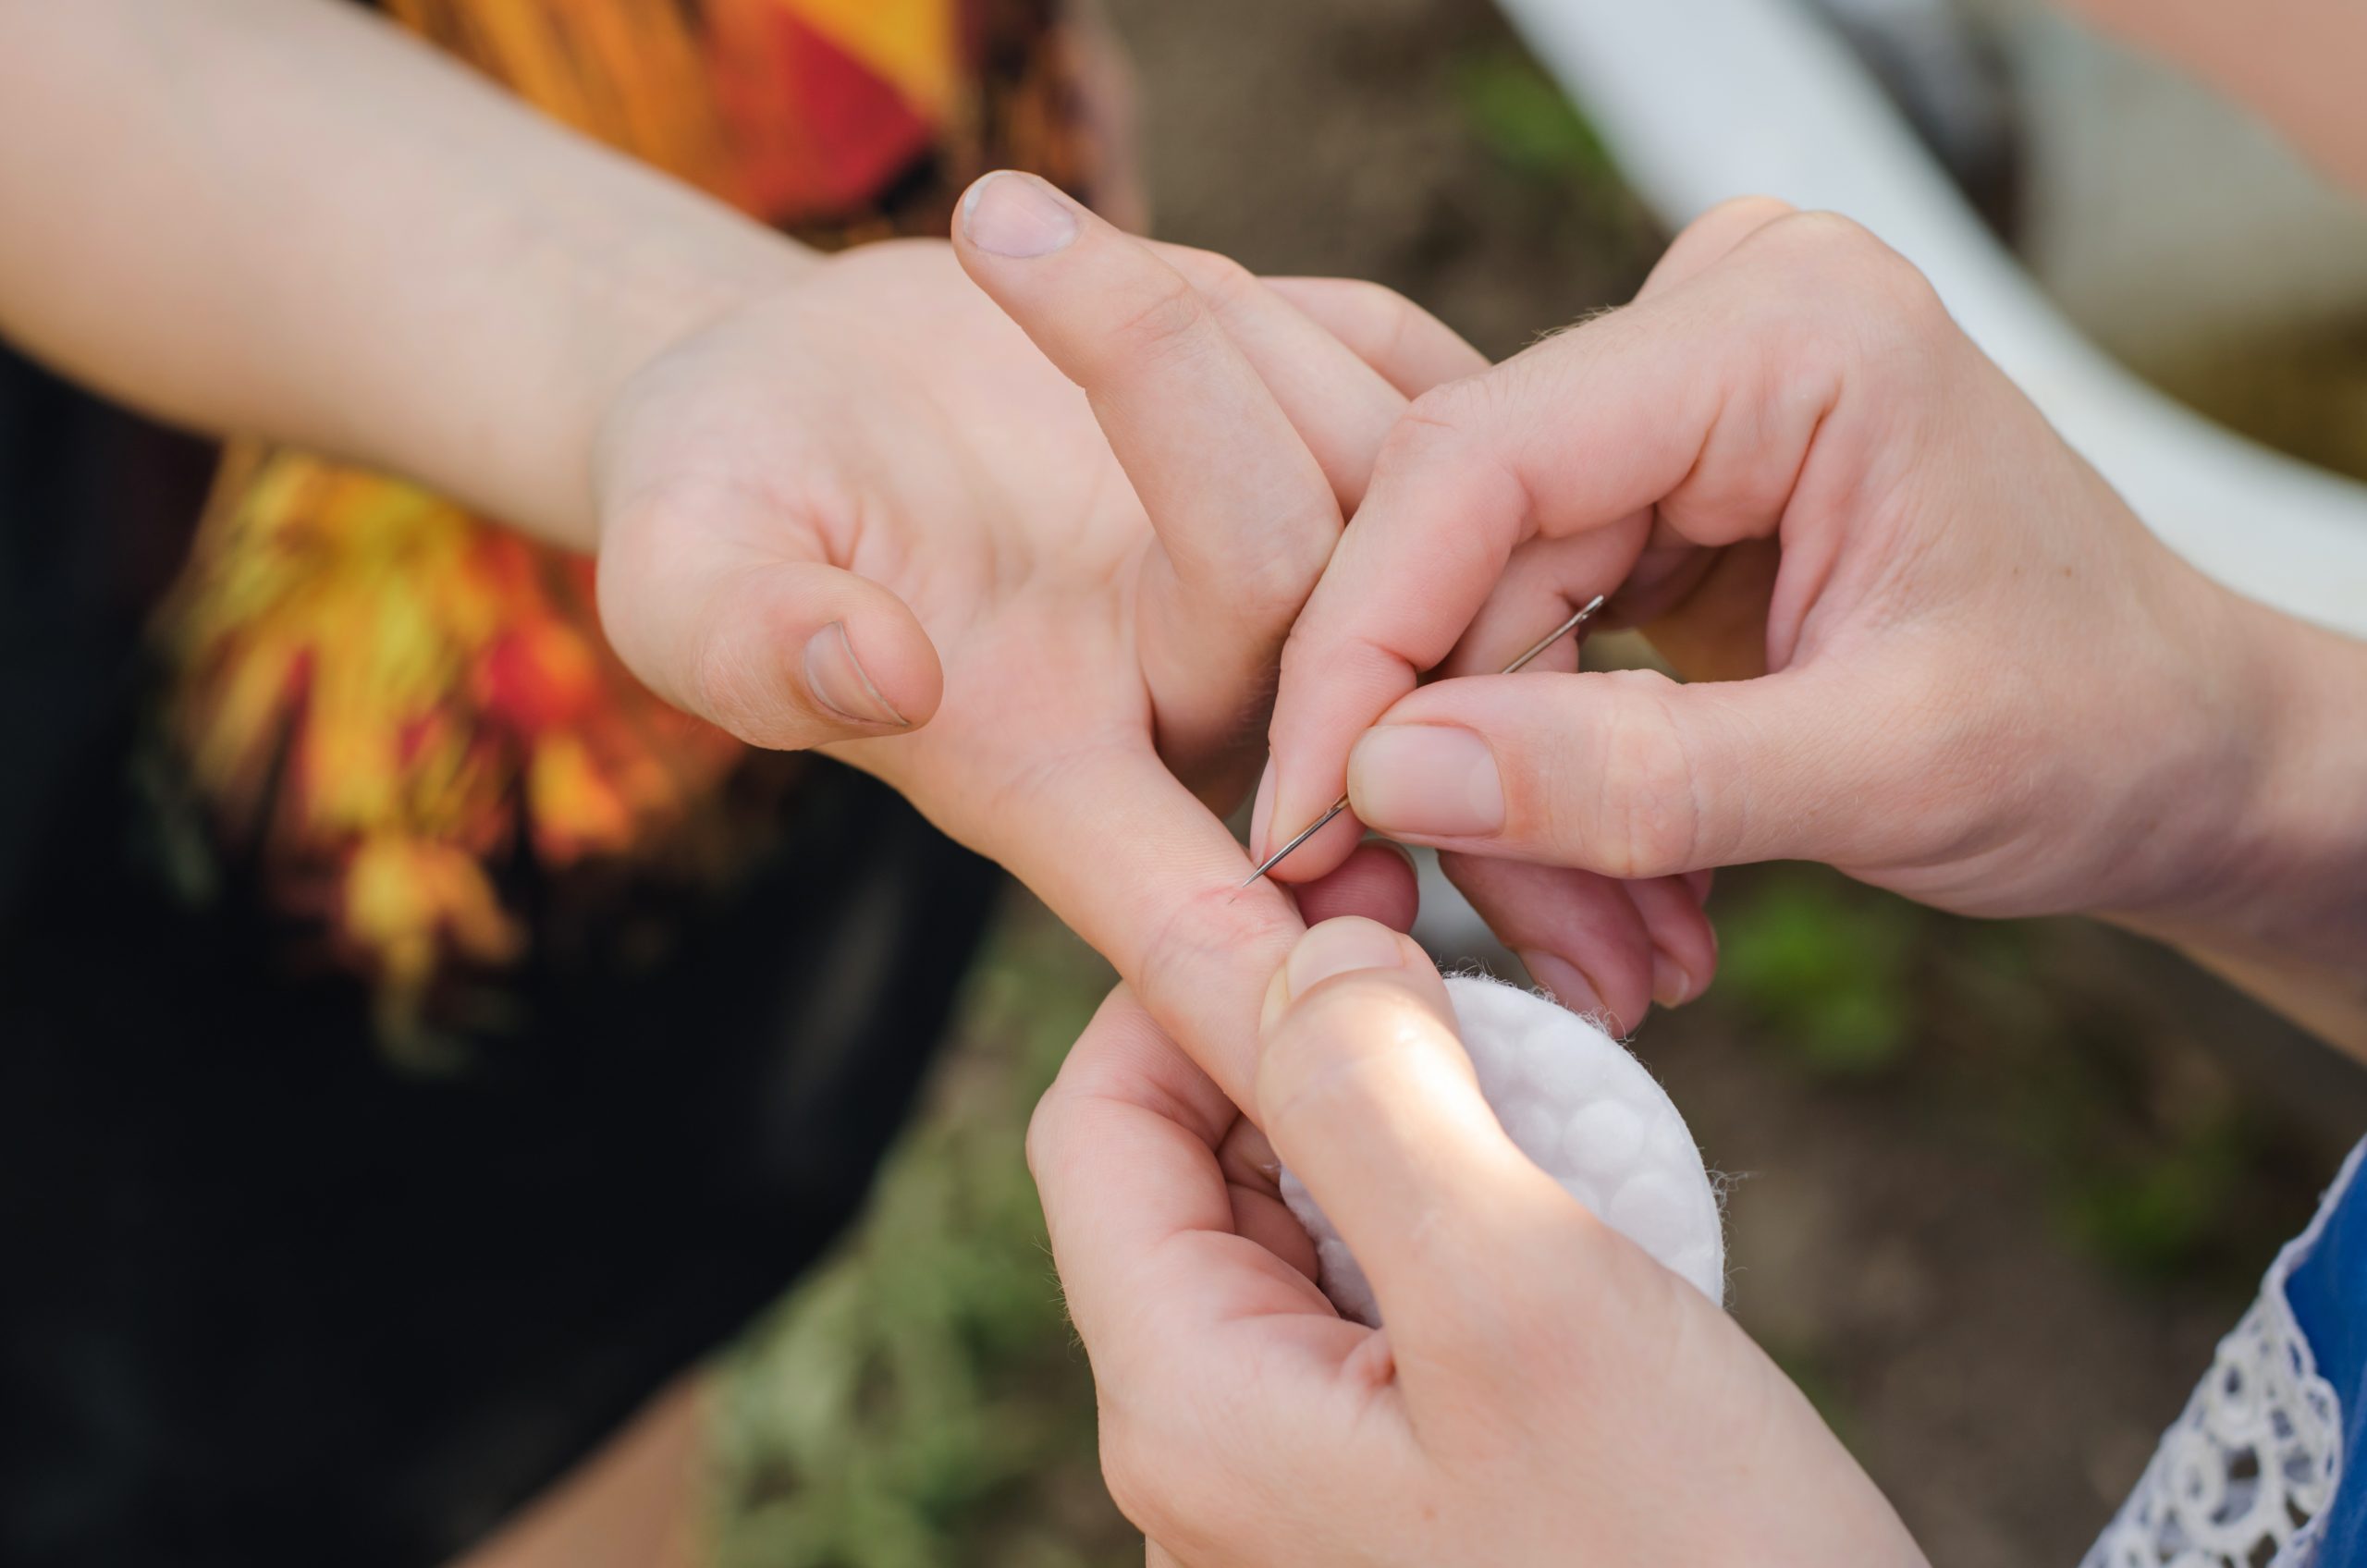
Step 4: Remove the Splinter
If the splinter is sticking out, use the tweezers to gently pull it out in the direction it entered. If it’s embedded deeply, use the sterilized needle to carefully lift the edge of the splinter before using the tweezers to pull it out.
Step 5: Clean the Area
Once the splinter is out, clean the area with soap and water. Apply antiseptic cream to prevent infection.
Step 6: Cover the Wound
Use a band-aid or gauze to cover the wound and protect it from further irritation or infection.
And that’s it! You’ve successfully removed the splinter. But remember, if you’re having trouble or the splinter is too deep, it’s always best to seek professional help.
Common Mistakes to Avoid When Removing a Splinter
While removing a splinter might seem simple, there are some common mistakes that can make the process worse. Here are a few to watch out for:
- Don’t squeeze the splinter. This can push it deeper into the skin.
- Avoid using unsterilized tools. This can introduce bacteria and cause infection.
- Don’t ignore signs of infection. If the area becomes red, swollen, or painful, seek medical attention.
By avoiding these mistakes, you can ensure a smoother and safer removal process.
Preventing Splinters: Tips to Keep Them at Bay
Prevention is always better than cure, right? Here are some tips to help you avoid getting splinters in the first place:
- Wear gloves when handling wood or other materials that can cause splinters.
- Inspect surfaces before walking barefoot, especially outdoors.
- Use protective gear when working with metal or glass.
By taking these precautions, you can significantly reduce your chances of getting a splinter.
When to Seek Professional Help
While most splinters can be removed at home, there are times when you should seek professional help. If the splinter is deeply embedded, too close to a sensitive area like your eye, or if you notice signs of infection, it’s best to see a doctor. They have the tools and expertise to handle the situation safely and effectively.
Data and Statistics: The Prevalence of Splinters
Did you know that splinters are one of the most common minor injuries people experience? According to a study published in the Journal of Family Medicine, approximately 20% of people will experience a splinter-related injury at some point in their lives. And while most are minor, about 5% require medical attention due to complications like infection.
These stats highlight the importance of knowing how to properly remove a splinter and when to seek professional help. It’s not just about the inconvenience; it’s about your health and well-being.
Conclusion: Take Action and Stay Safe
Alright, there you have it—a comprehensive guide on how to safely and effectively remove a splinter. Remember, the key is to stay calm, use the right tools, and follow the steps carefully. And if you’re ever in doubt, don’t hesitate to seek professional help.
We’d love to hear from you! Have you ever had a tricky splinter to remove? Share your story in the comments below. And don’t forget to share this article with your friends and family so they can be prepared too. Stay safe out there, and keep those pesky splinters at bay!
Table of Contents
- How to Safely and Effectively Remove a Splinter (Enlever Echarde): A Comprehensive Guide
- Understanding Splinters: What Are They and Why Do They Hurt So Much?
- Types of Splinters
- Why Removing a Splinter Is Important
- Gather Your Tools: What You’ll Need to Remove a Splinter
- Step-by-Step Guide: How to Remove a Splinter
- Common Mistakes to Avoid When Removing a Splinter
- Preventing Splinters: Tips to Keep Them at Bay
- When to Seek Professional Help
- Data and Statistics: The Prevalence of Splinters
- Conclusion: Take Action and Stay Safe

Detail Author:
- Name : Deon Gorczany PhD
- Username : oreilly.kaia
- Email : dorothy.murray@kilback.com
- Birthdate : 1972-08-28
- Address : 97401 Joany Mall Suite 705 Jacklynbury, VA 82243
- Phone : +1.351.397.7027
- Company : Schinner-Nienow
- Job : Poet OR Lyricist
- Bio : Pariatur et facere dignissimos ut est veniam. Laboriosam voluptatem reiciendis ut autem velit molestiae enim voluptatem. Quisquam minima consectetur pariatur quidem dicta.
Socials
instagram:
- url : https://instagram.com/ginobartoletti
- username : ginobartoletti
- bio : Vero aut quia atque dolores consequatur. Omnis quo ipsa ipsum officia facilis beatae voluptas ut.
- followers : 6367
- following : 2097
tiktok:
- url : https://tiktok.com/@gino_bartoletti
- username : gino_bartoletti
- bio : Laborum harum consequuntur facilis consequatur et enim odit.
- followers : 6052
- following : 216
facebook:
- url : https://facebook.com/gino.bartoletti
- username : gino.bartoletti
- bio : Sed officia eaque non facere molestiae qui aut.
- followers : 1239
- following : 846
linkedin:
- url : https://linkedin.com/in/ginobartoletti
- username : ginobartoletti
- bio : Et deleniti vero et doloribus.
- followers : 6140
- following : 2770
twitter:
- url : https://twitter.com/gino.bartoletti
- username : gino.bartoletti
- bio : Nihil voluptatem vel quos. Non explicabo aperiam et molestiae provident. Sapiente porro fuga est velit cum ipsa nihil.
- followers : 1725
- following : 1015
